CREATE: nail and string art
i've had this idea in my head for awhile but didn't really know where to start. we have a narrow but tall wall above our stairwell that has needed a piece of art since we moved in and i've seen several fun string art pieces on pinterest. so, i decided to try something on a large scale to fit on this wall!
hearts seem to be my theme lately, "love" is just a big theme for me here in 2013 so i thought this would be a good place to start. i created this out of my own head, without any instruction, so i am certain there are probably easier/better ways to do this. but, here is a little tutorial on how i did it. you, of course, don't have to make one on such a large scale. this took ALOT of embroidery floss. about 50 skeins to be exact!
MATERIALS:
embroidery floss: i used the dmc brand. be sure to be extra skeins in the same color. this piece took about 12 skeins for each of the big hearts and 8-10 for the smaller hearts
nails: i used "wire brads" from home depot. this heads are pretty small, i didn't really want the nails to be predominant. i bought zinc #18x5/8" wire brads
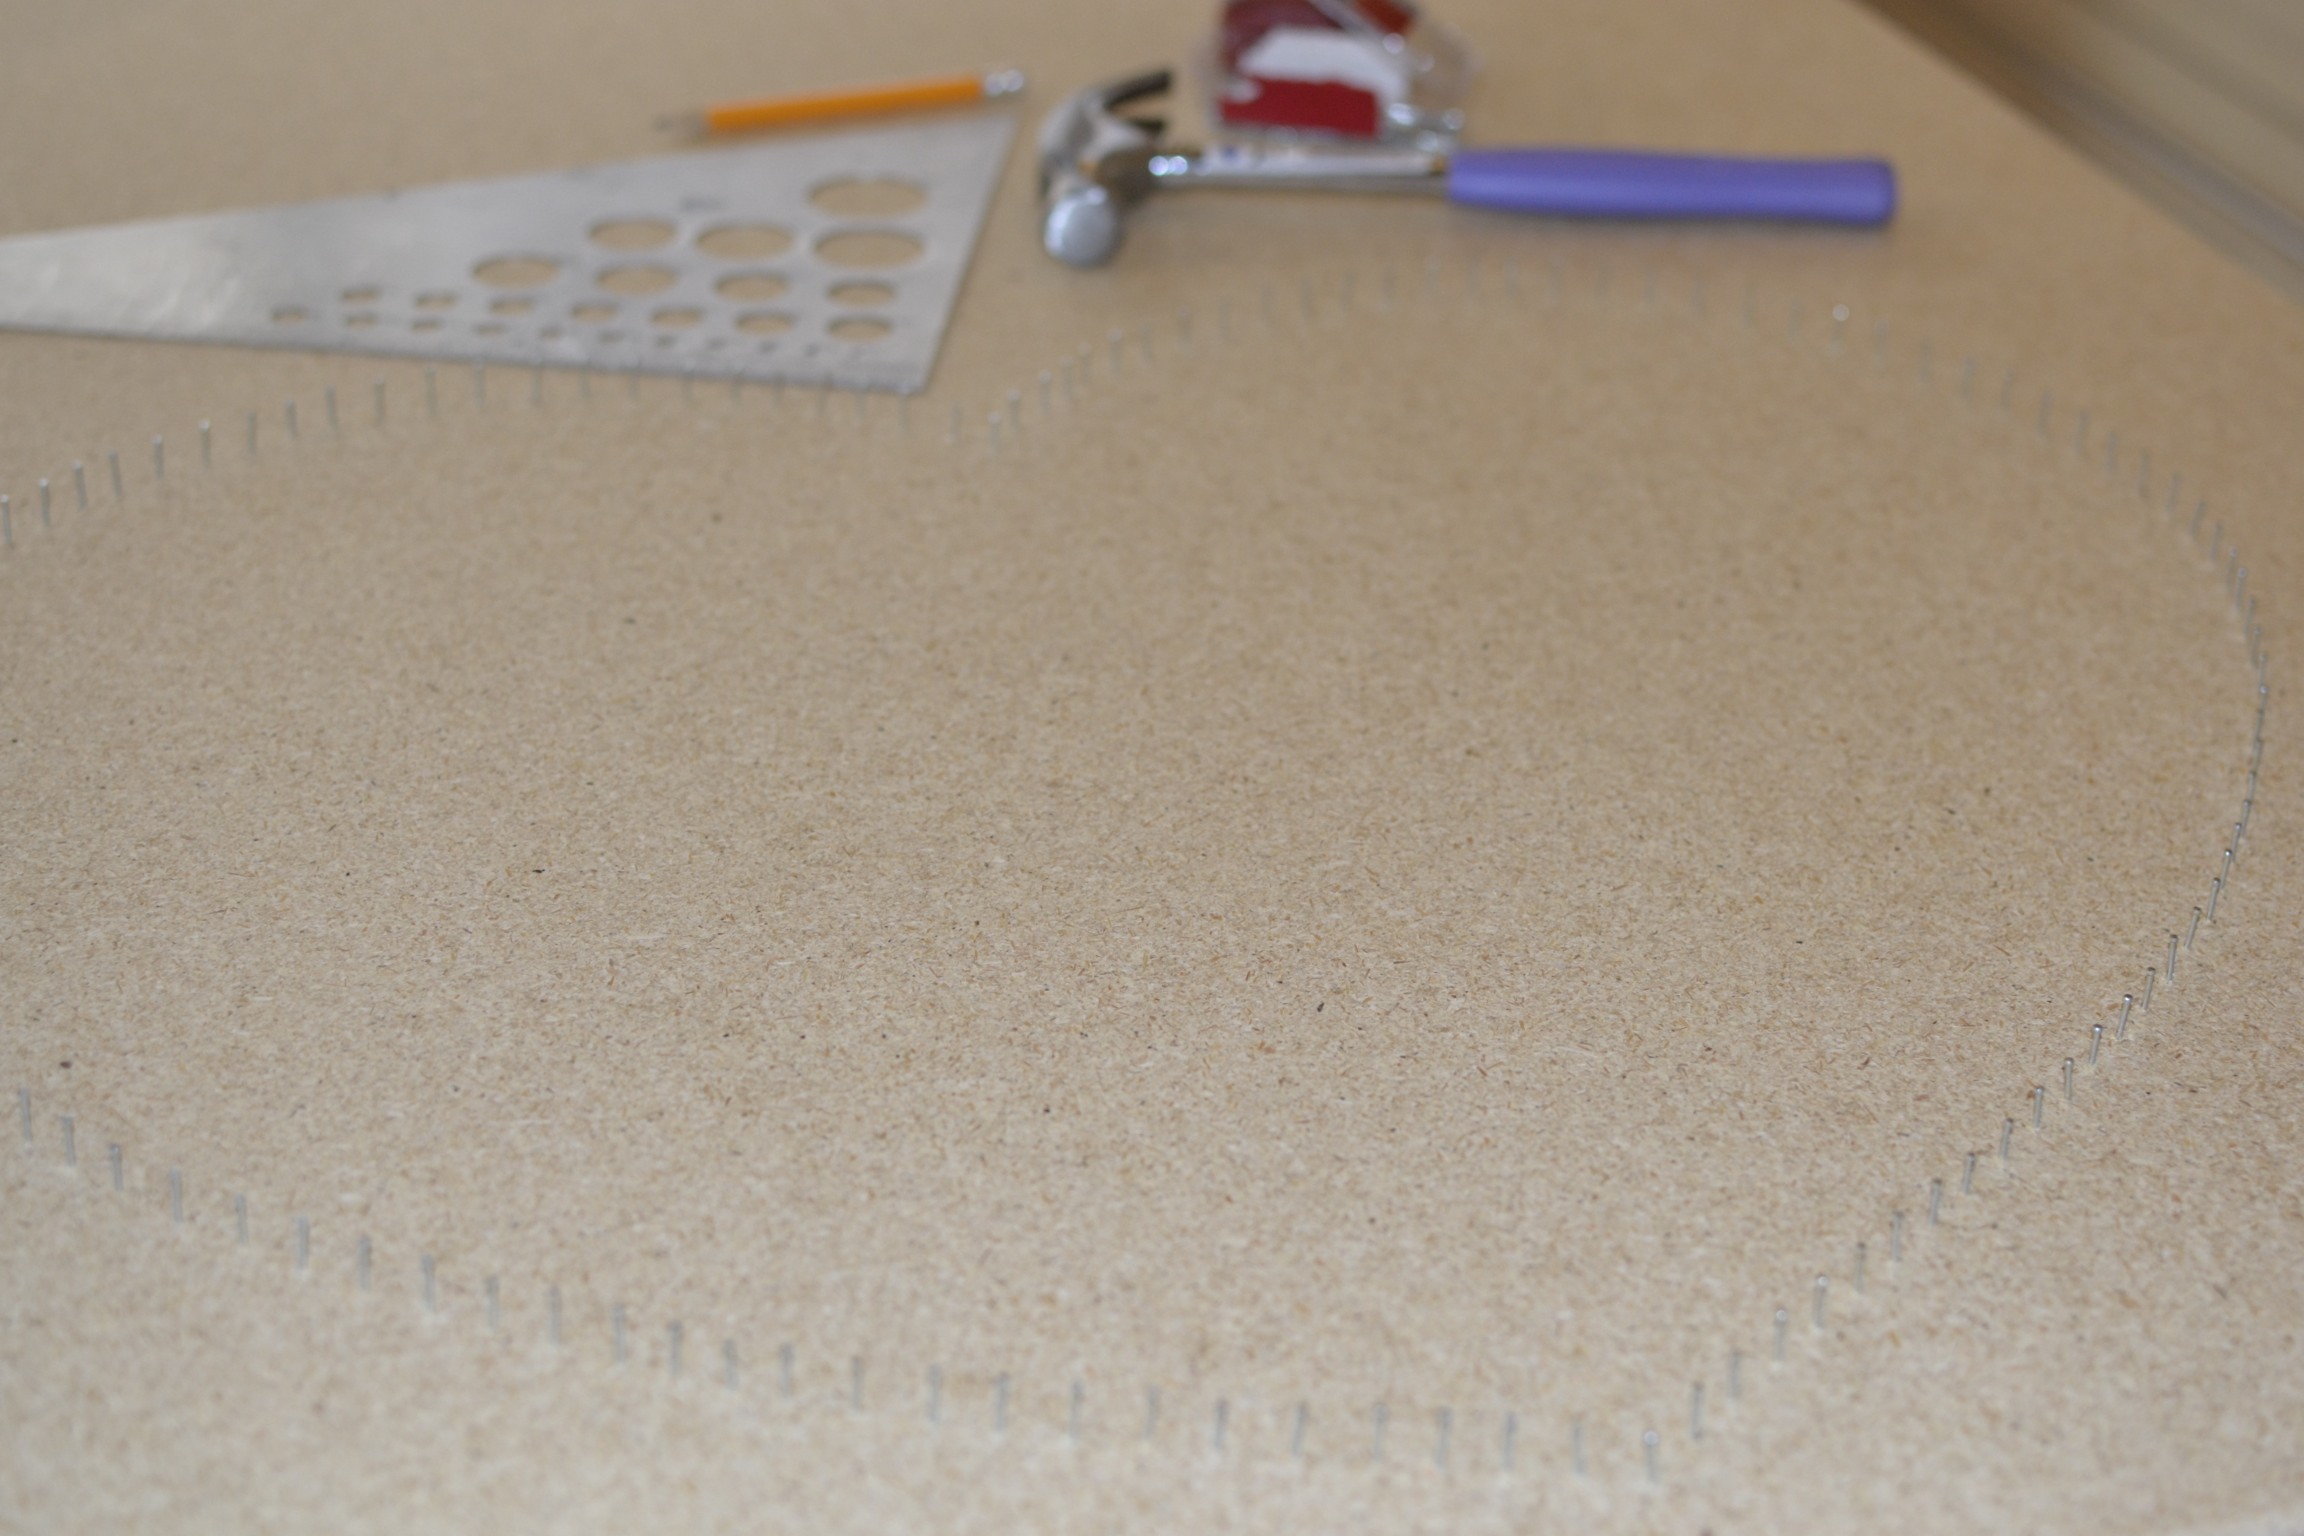
hammer
wood board: i had my husband cut a 30"x66" piece of particle board for me. i wanted the exposed look of the particle board. you could use any type of board, just make sure it is sturdy and thick enough to nail the nails into. you could also stain it or paint it
construction paper for pattern making
ruler

INSTRUCTIONS:
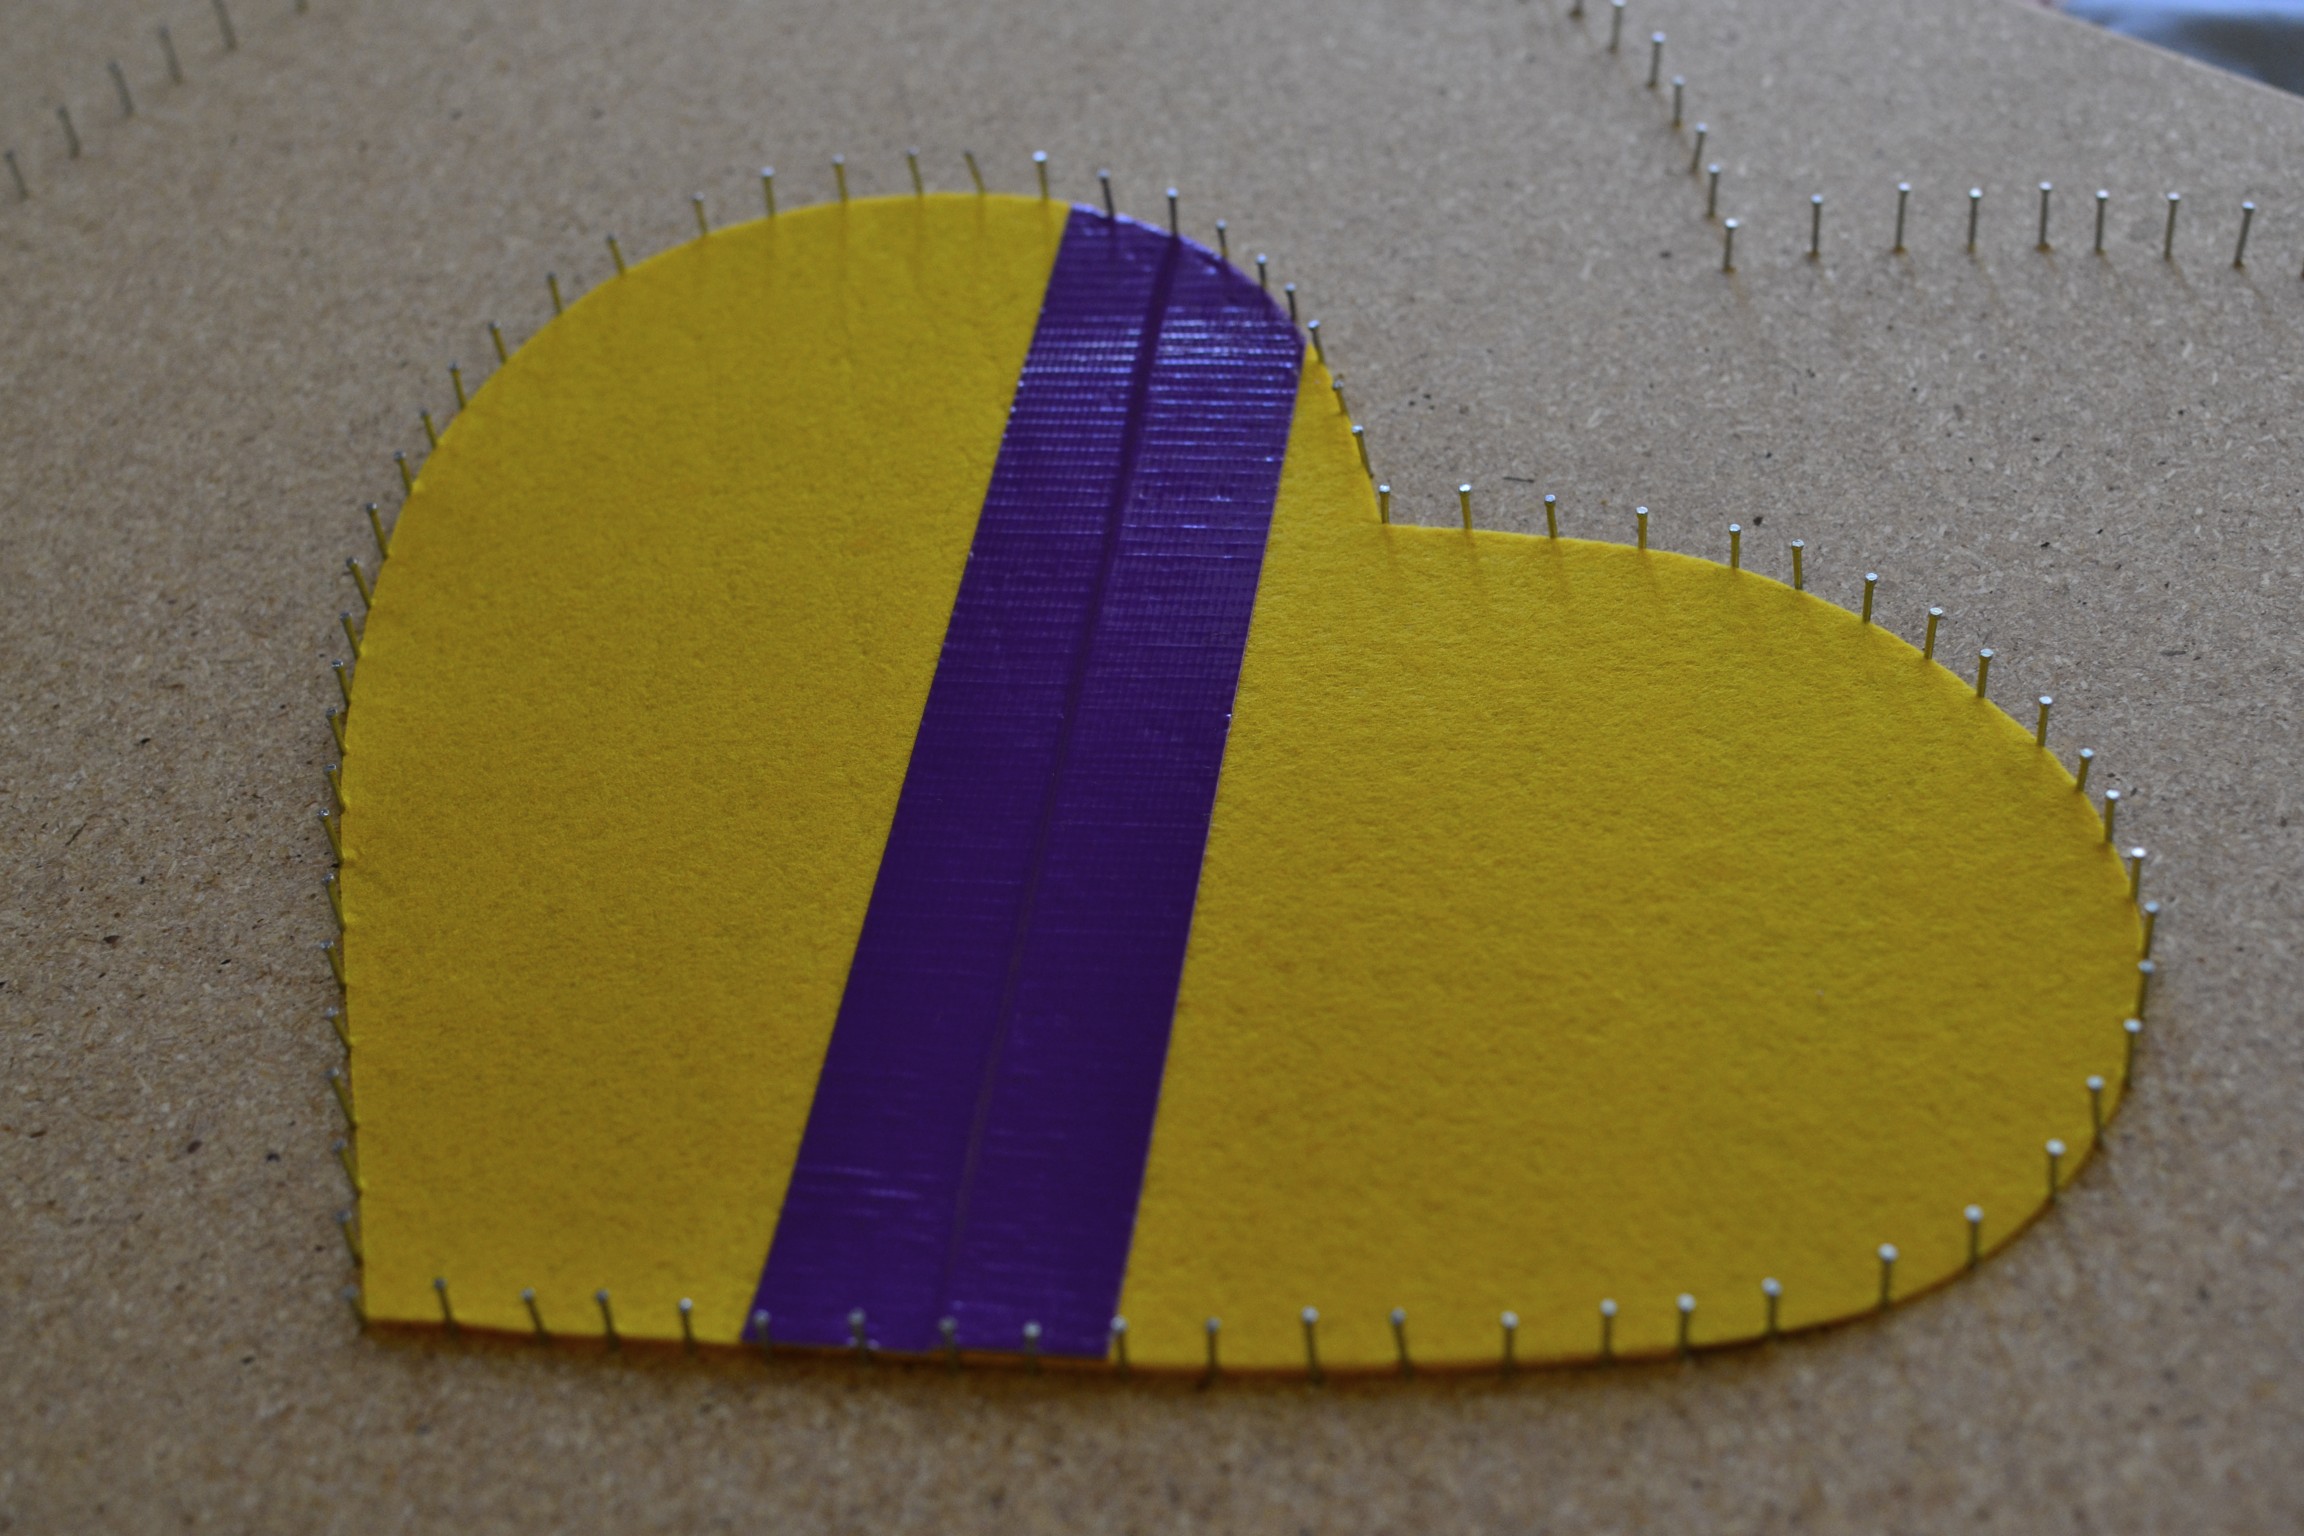
1. decide what pattern you want to make. if you want letters, you can print them off from online. i cut my hearts from large felt pieces, you could use construction paper (i just didn't have any handy.)

2. lay out your design, on your board. be sure it is straight and even. leave your design in place and begin hammering in the nails, about 1/2"-3/4" apart, depending on how dense you want the string pattern to turn out. i hammered the nails in about 1/3 of their length, so they are sturdy and do not wiggle. continue hammering in the nails around the entire shape.


3. once all of the nails are in place, remove your pattern. for this particular heart, i laid out a smaller heart inside so, i went through the same process with the smaller pattern.

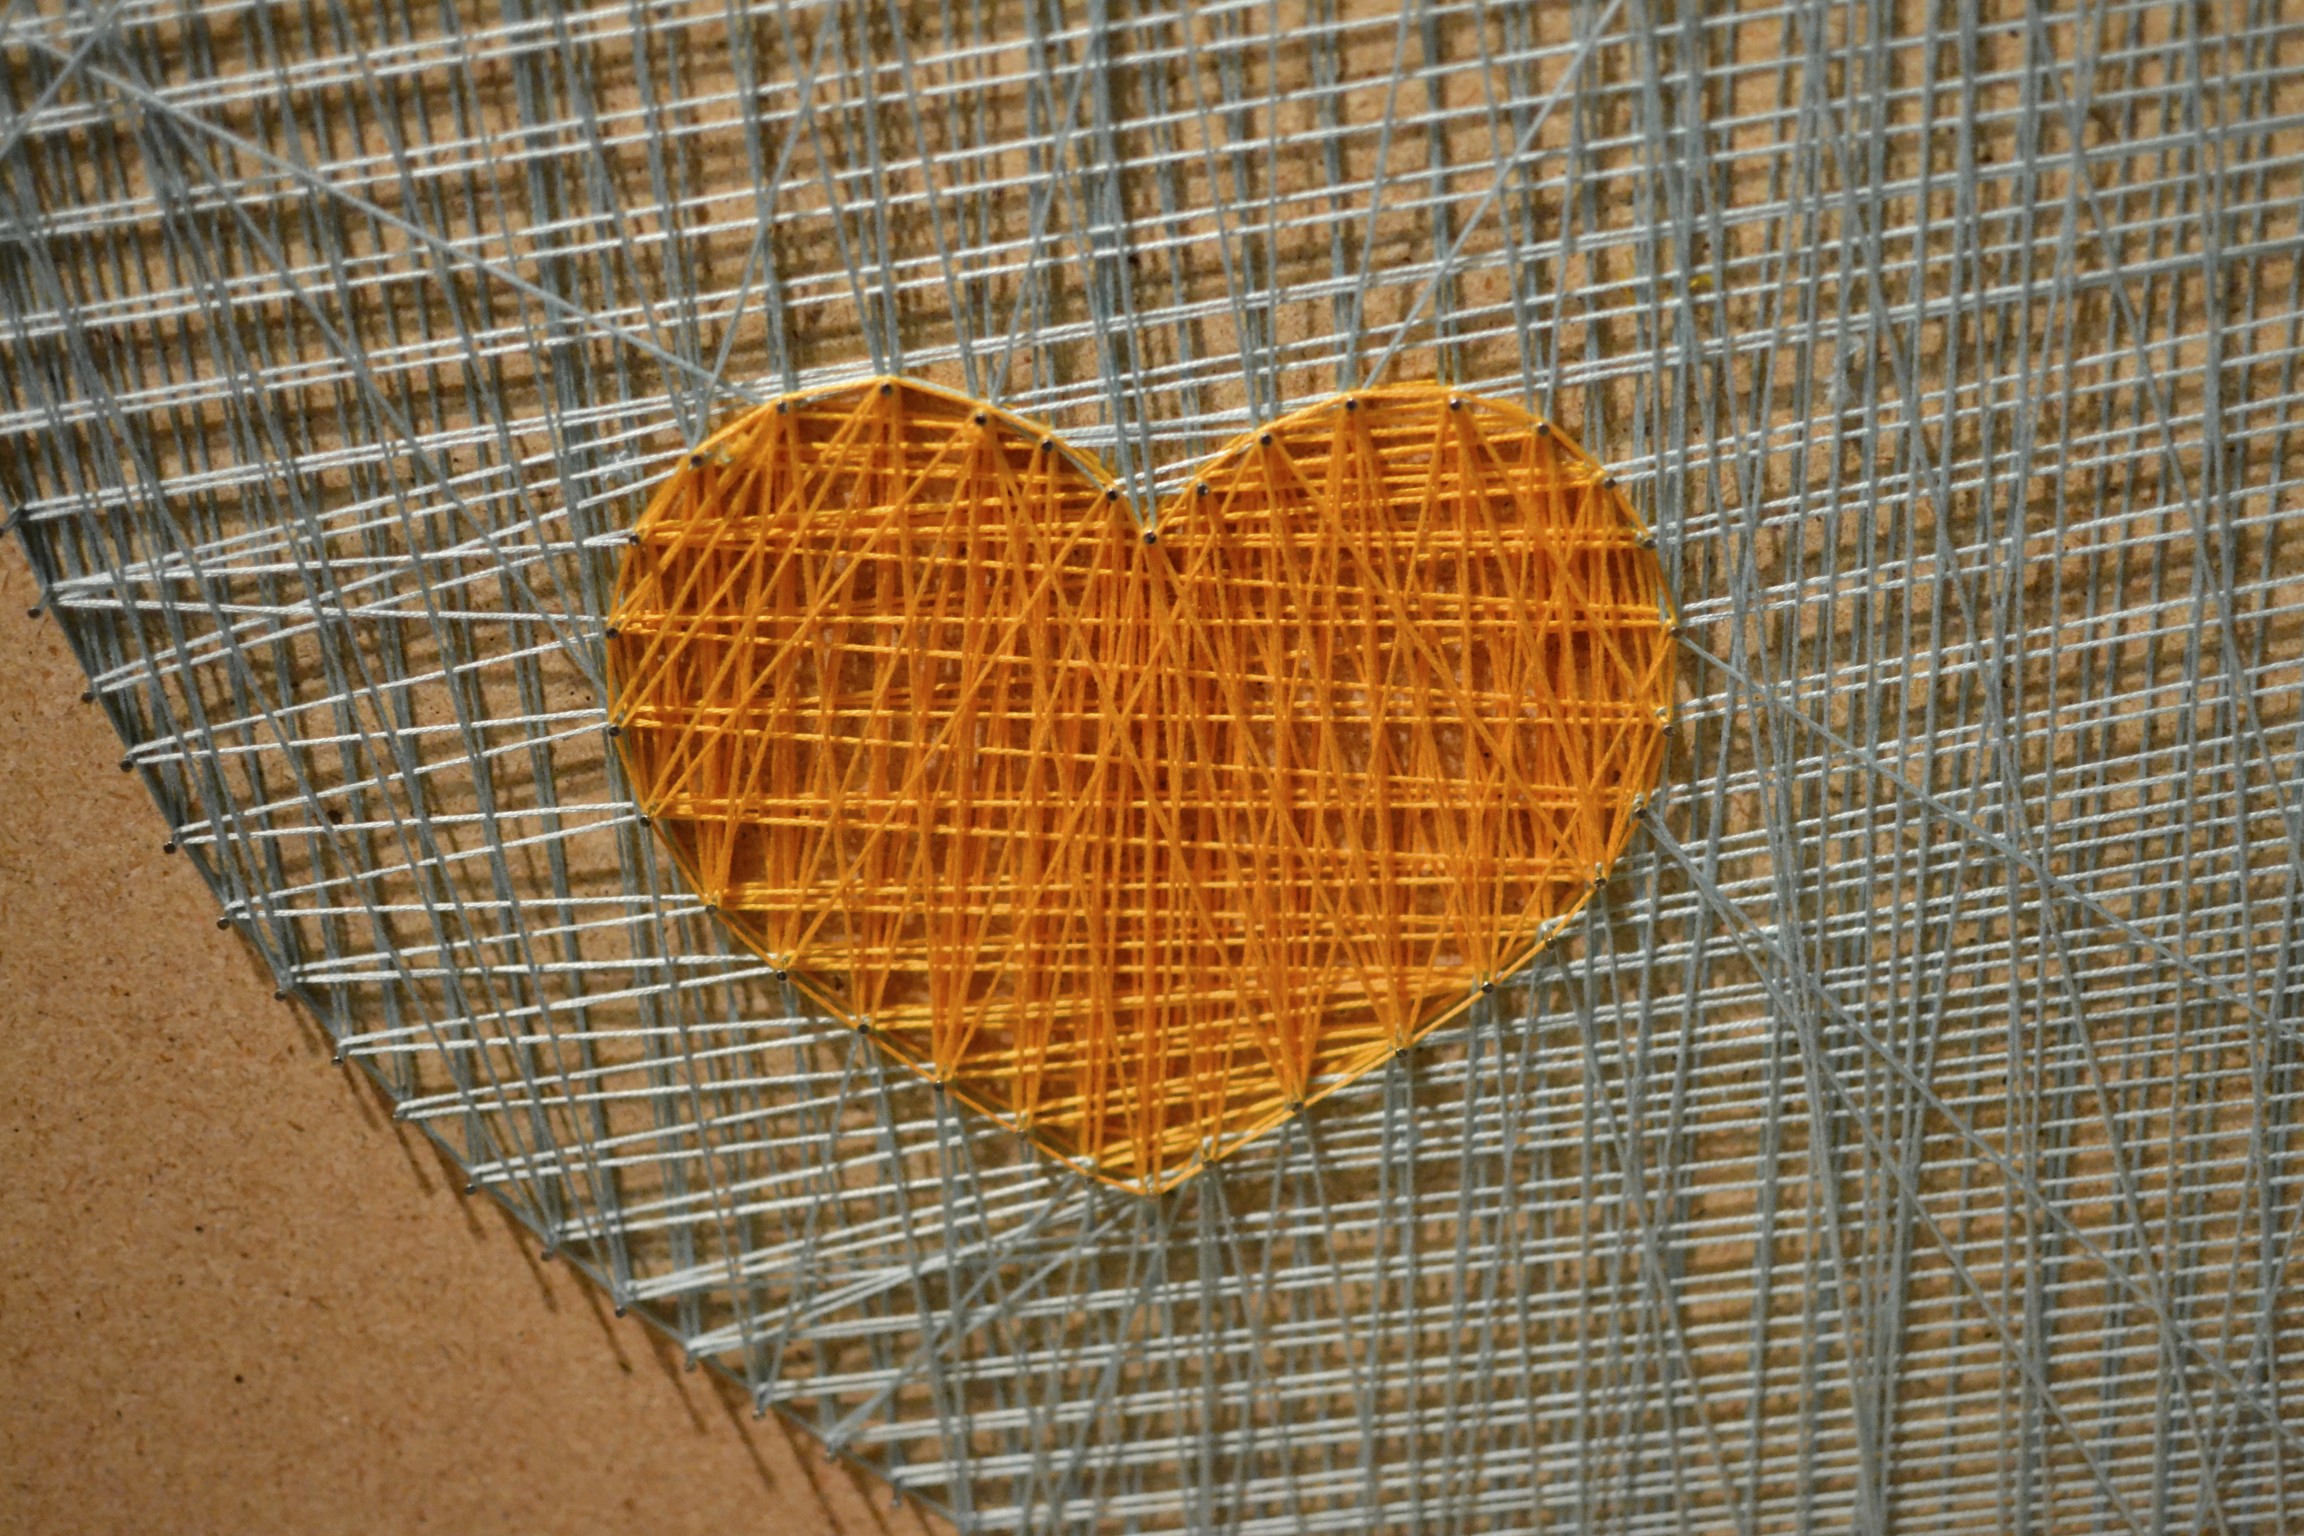
4. once all of the nails are in place, begin by tying your string to the top nail. i started by wrapped around the perimeter first. you have to hold the string tightly!

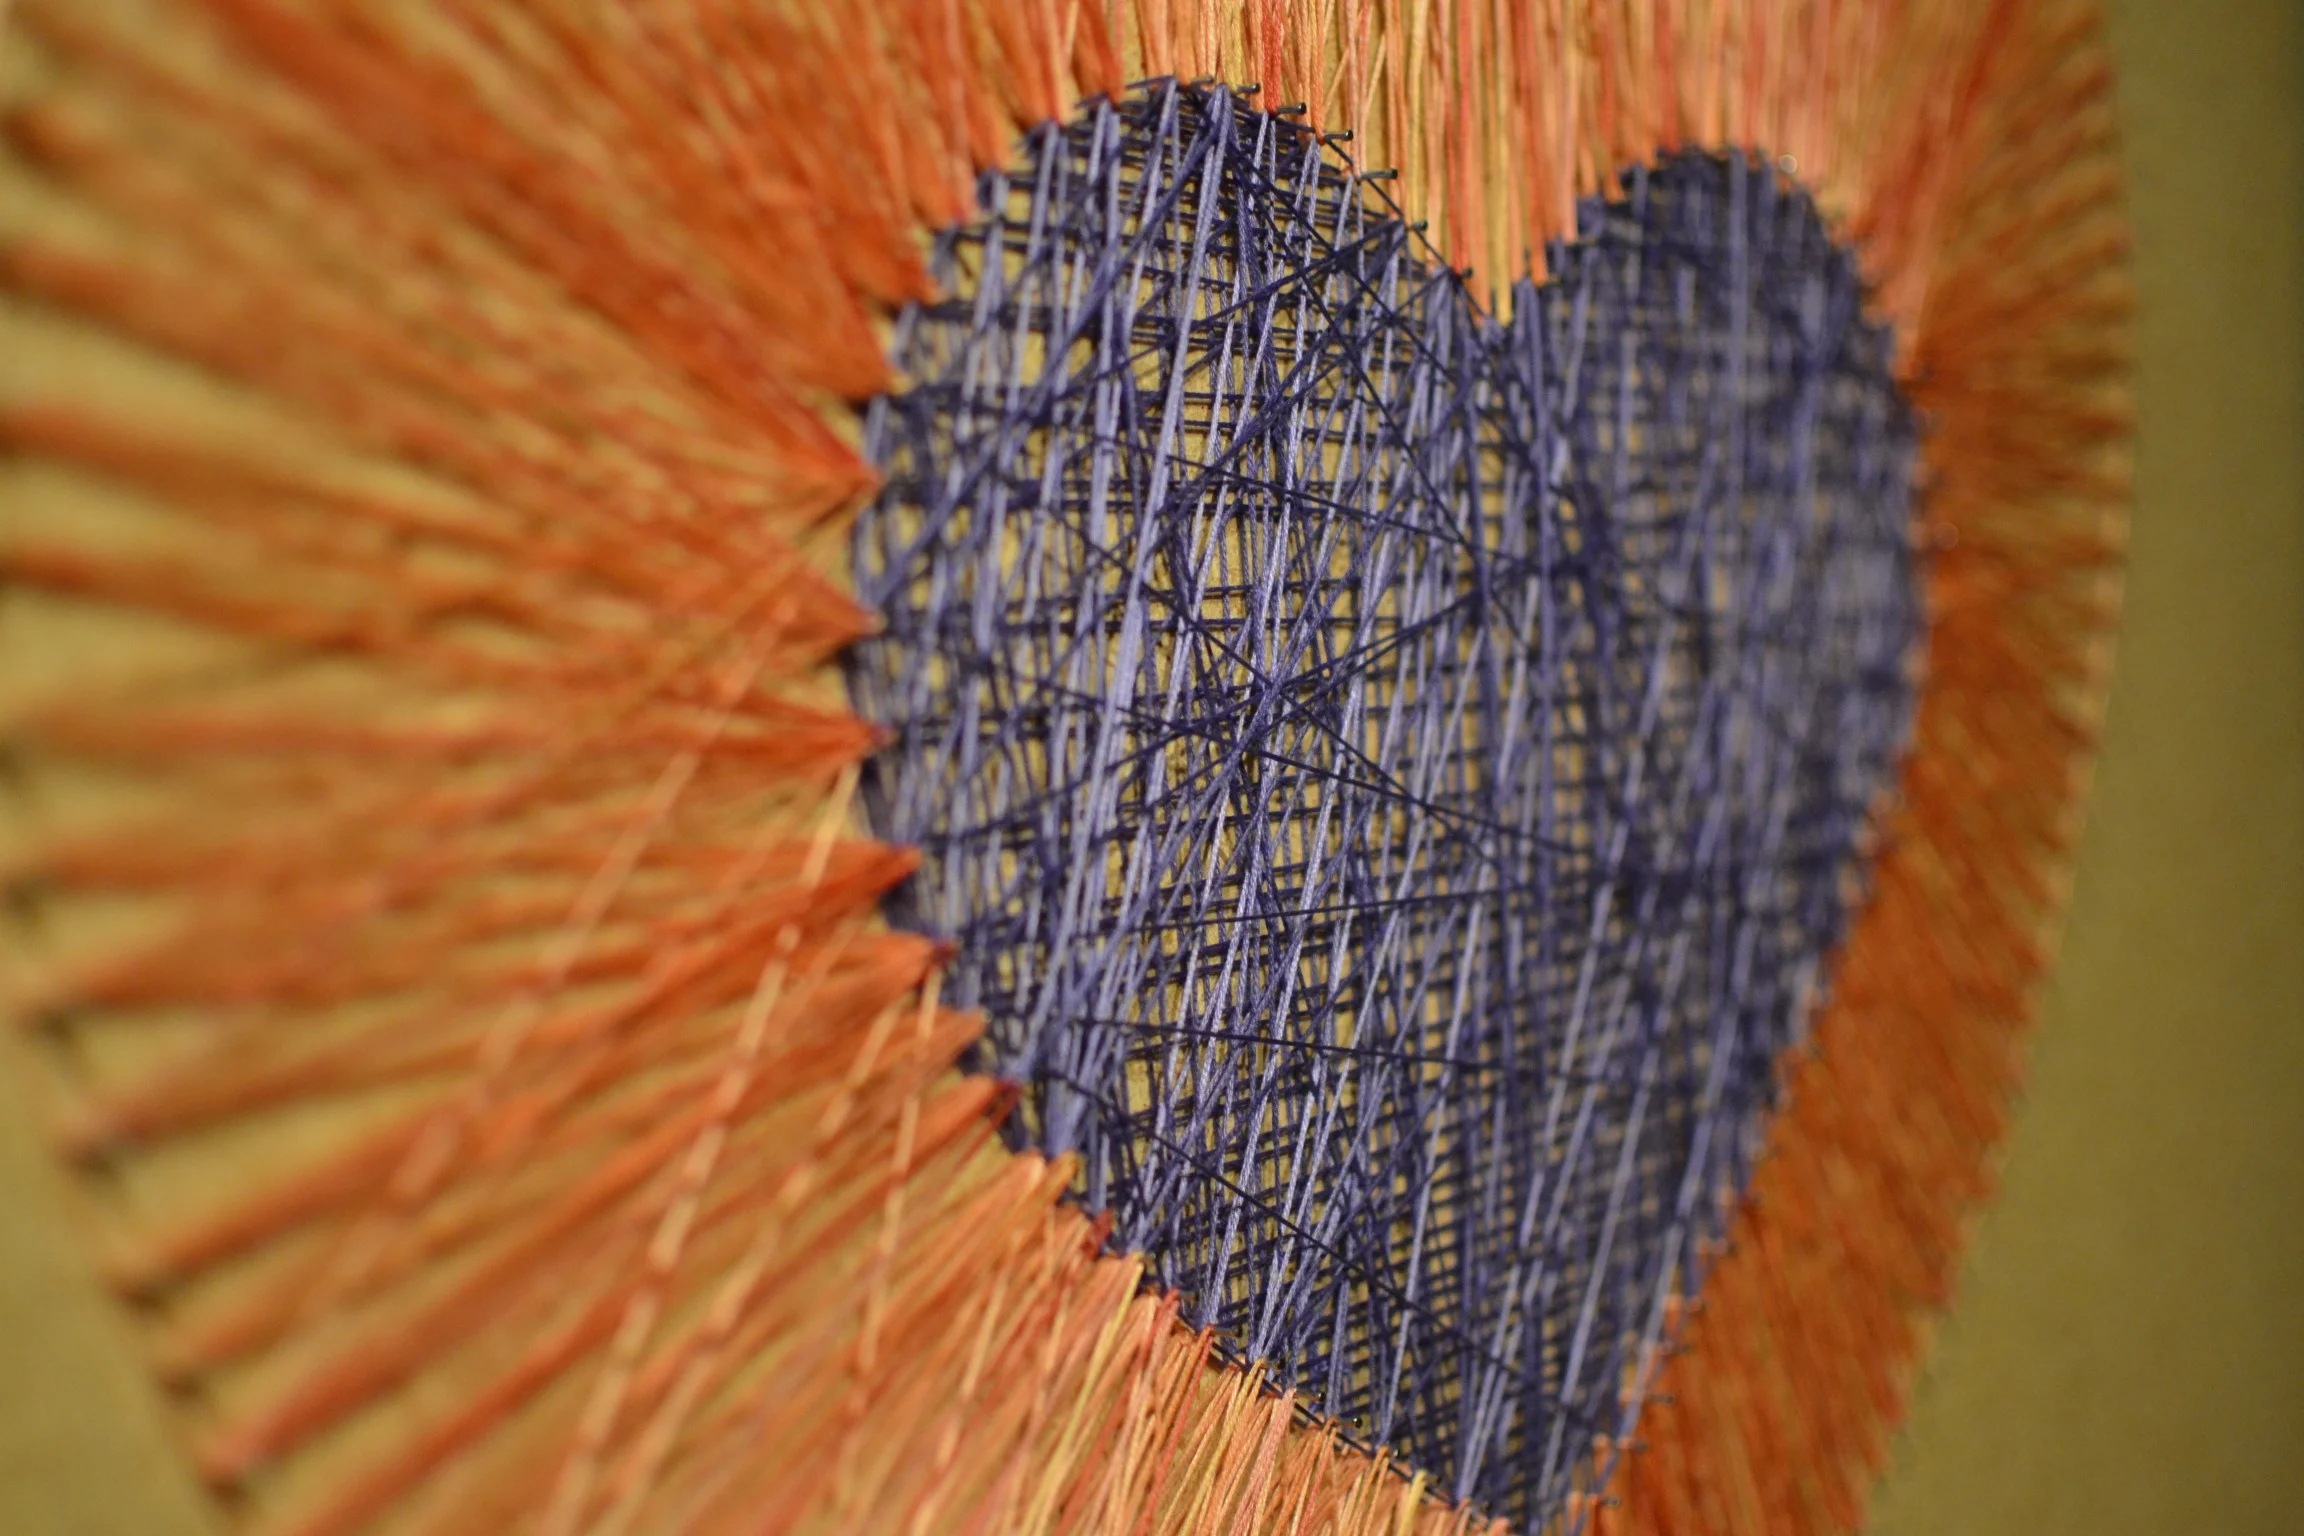
5. i decided to wrap vertically, then horizontally, then randomly ... to fill it in as evenly and fully as i could. the tops of these brads are a little sharp so you have to be careful not to snag your string. if you get to the end of your string, just tie a new piece on with a double knot and keep going. it is a little difficult to hold tight to your string while you tie on a new one. once you tie a new piece on, trim as closely to the know as you can. since you are making several layers of pattern, you barely see the knots.